Installation Guide
Current release: 2026.09.22 — x86_64 — KDE Plasma on Wayland
Maze is a rolling release: versions are dated (
YYYY.MM.DD) and package versions track Arch. This wiki deliberately avoids pinning version numbers that go stale — runmaze-doctororpacman -Q <pkg>for what is actually on your system.
Maze Linux ships as a bootable ISO. Write it to a USB drive, boot live to try the system, then run the guided installer to put it on your disk.
Requirements
| Component | Minimum | Recommended |
|---|---|---|
| CPU | 64-bit (x86_64), 2 cores | 4+ cores |
| RAM | 4 GB | 8 GB+ (16 GB for local AI) |
| Storage | 40 GB | 100 GB+ SSD |
| Firmware | UEFI required (no BIOS/Legacy) | UEFI + Secure Boot |
| EFI partition | 512 MB | 1 GB+ (two kernel images) |
| Internet | Optional for install | Recommended |
1. Download the ISO
Get the latest mazelinux-YYYY.MM.DD-x86_64.iso from the Maze Linux website.
2. Write the ISO to USB
On Linux:
sudo dd if=mazelinux-*.iso of=/dev/sdX bs=4M status=progress oflag=sync
Replace /dev/sdX with your USB device — verify with lsblk before running. This is destructive.
On Windows: use Rufus in DD image mode.
On macOS: use dd with /dev/diskN instead of /dev/sdX, or use Balena Etcher.
3. Boot the Live Environment
- Plug in the USB and reboot.
- Enter your firmware boot menu (usually F2, F12, Delete, or Esc at POST).
- Select your USB drive.
- Maze boots straight into the live desktop — there is no boot menu to choose from.
The system boots to a full KDE Plasma desktop on Wayland. This is the real system — not a stripped-down live mode. You can try every app and test all hardware before committing to an install.
4. Connect to the Internet (optional)
Use the NetworkManager tray applet to connect to Wi-Fi or plug in Ethernet. An internet connection lets the installer fetch remaining updates, but is not required — all packages are already on the ISO.
5. Run the Installer
Click the Install Maze Linux (Calamares) icon on the live desktop.
The installer has eight short pages — Welcome → Location → Keyboard → Partitions → Users → Summary → Install → Finish. Step through them below (arrow keys or swipe; click a screenshot to enlarge it).
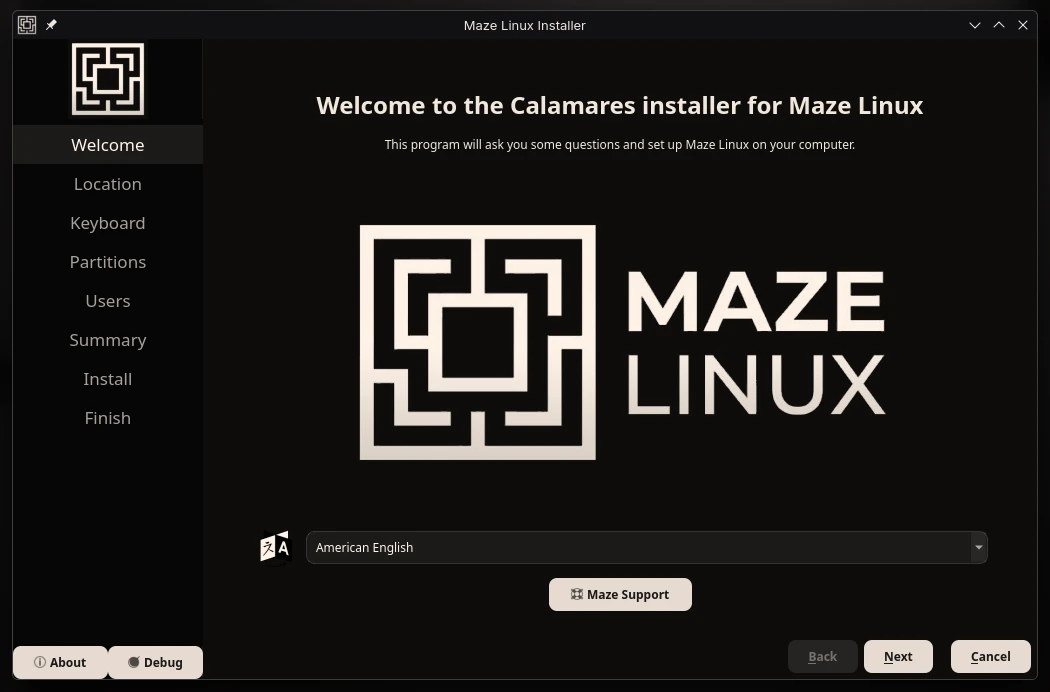
- Welcome — Pick the installer language from the list at the bottom, then Next. This only changes the installer; the system language is set on the next page.
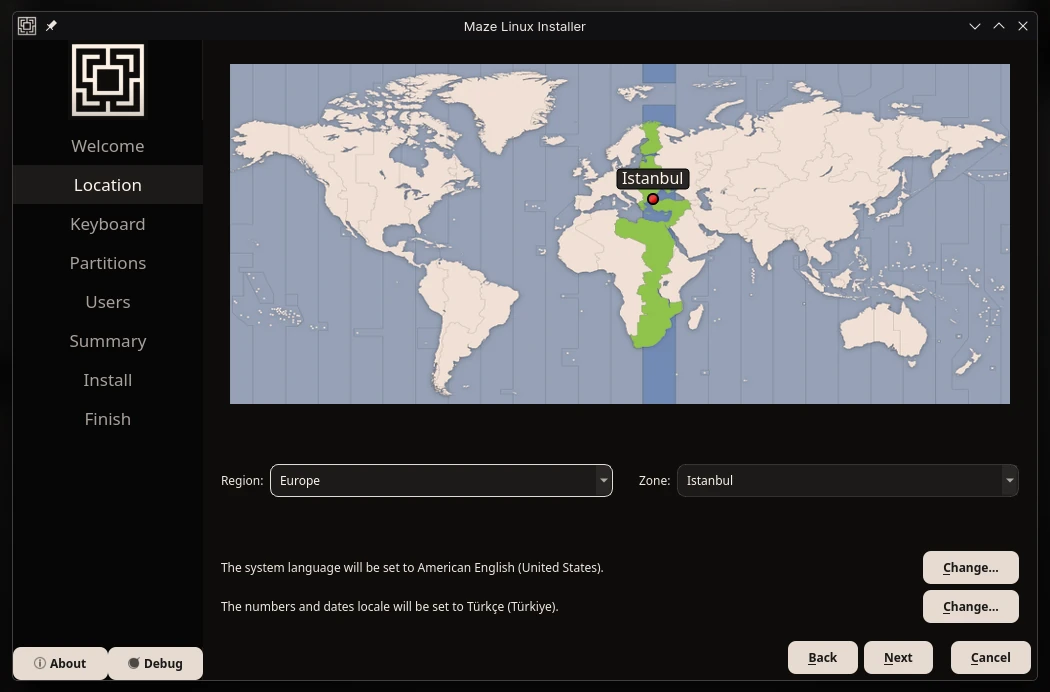
- Location — Click your region on the map or choose Region and Zone (your time zone). Use the two Change… buttons to set the system language and the number/date format separately.
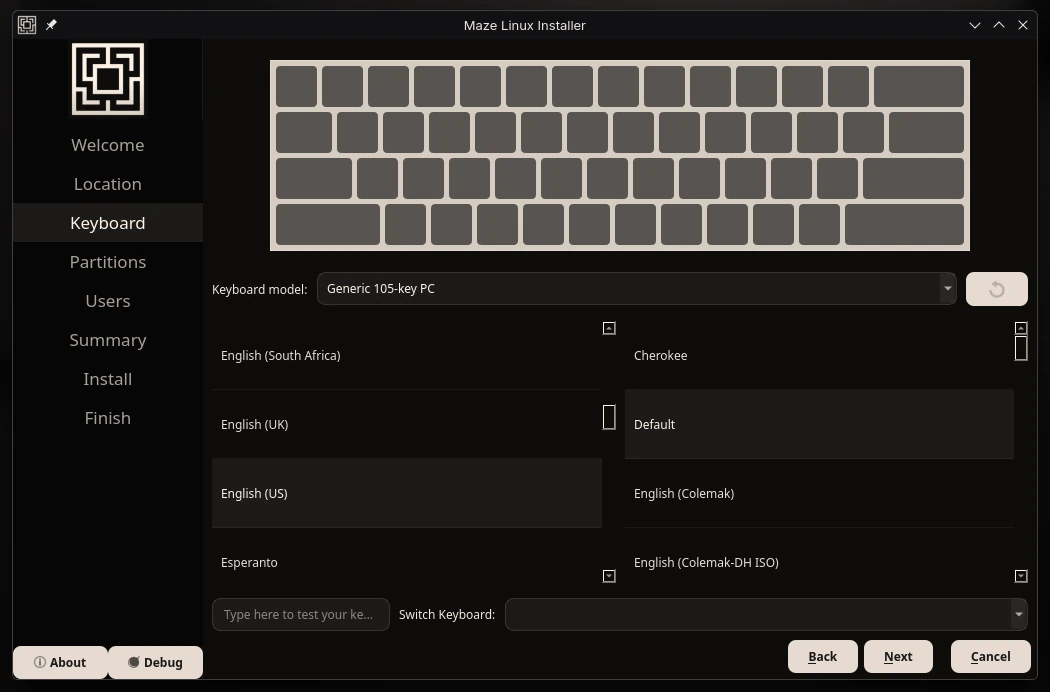
- Keyboard — Choose your layout on the left and its variant on the right. Try it in the "Type here to test" box before continuing.
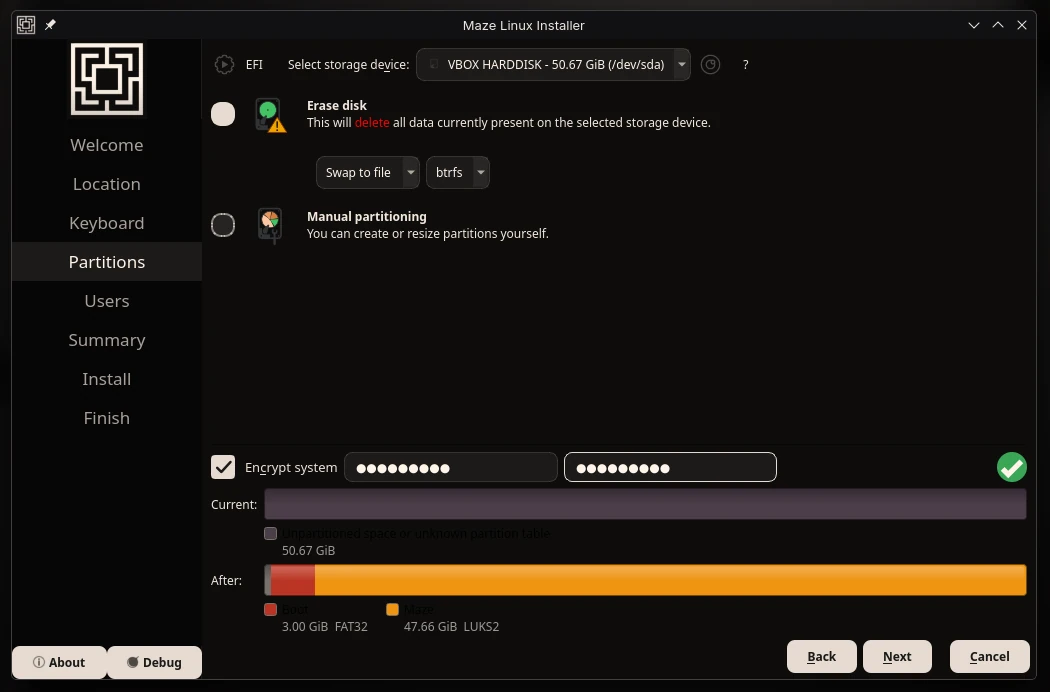
- Partitions — the important one — Pick the target drive at the top. Erase disk wipes it and sets everything up for you; keep btrfs (needed for automatic snapshots). Tick Encrypt system and enter a passphrase twice — you type it at every boot. Choose "Manual partitioning" only if you need a custom layout, e.g. dual-boot.
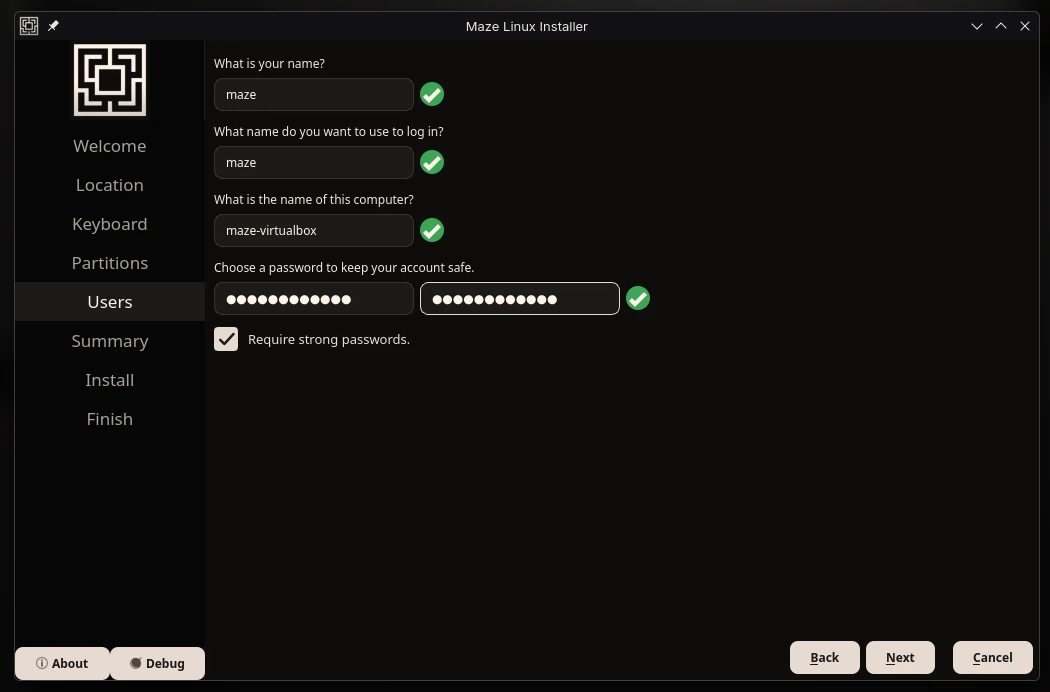
- Users — Your name, login name, computer name and password. Keep Require strong passwords ticked.
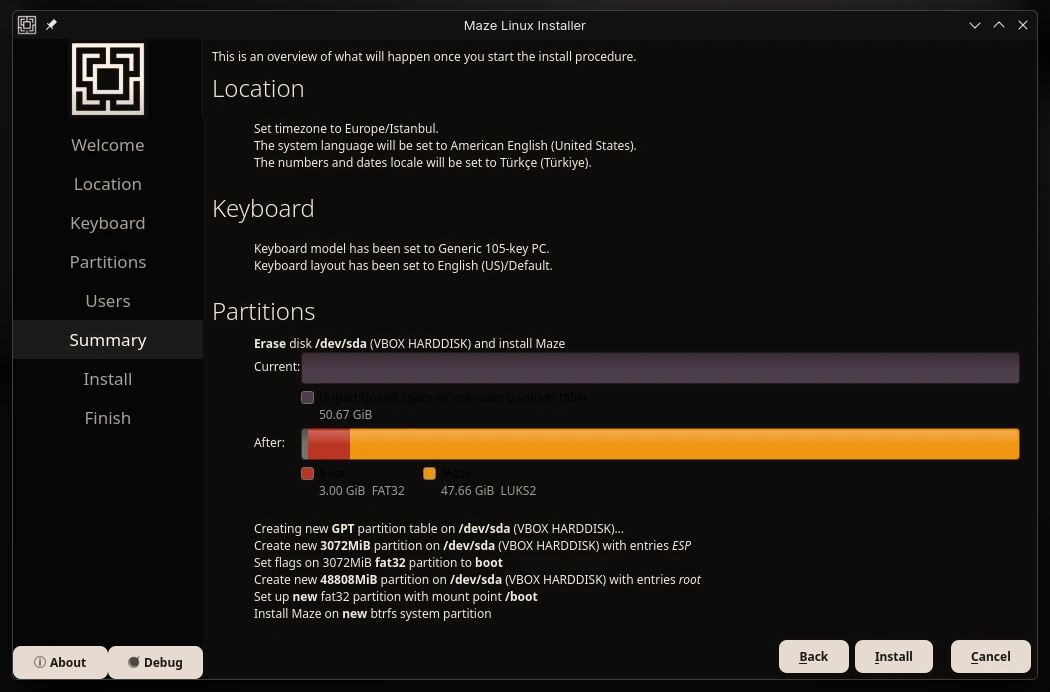
- Summary — Last chance to check. Nothing has been written yet — make sure the disk shown is the right one, then press Install.
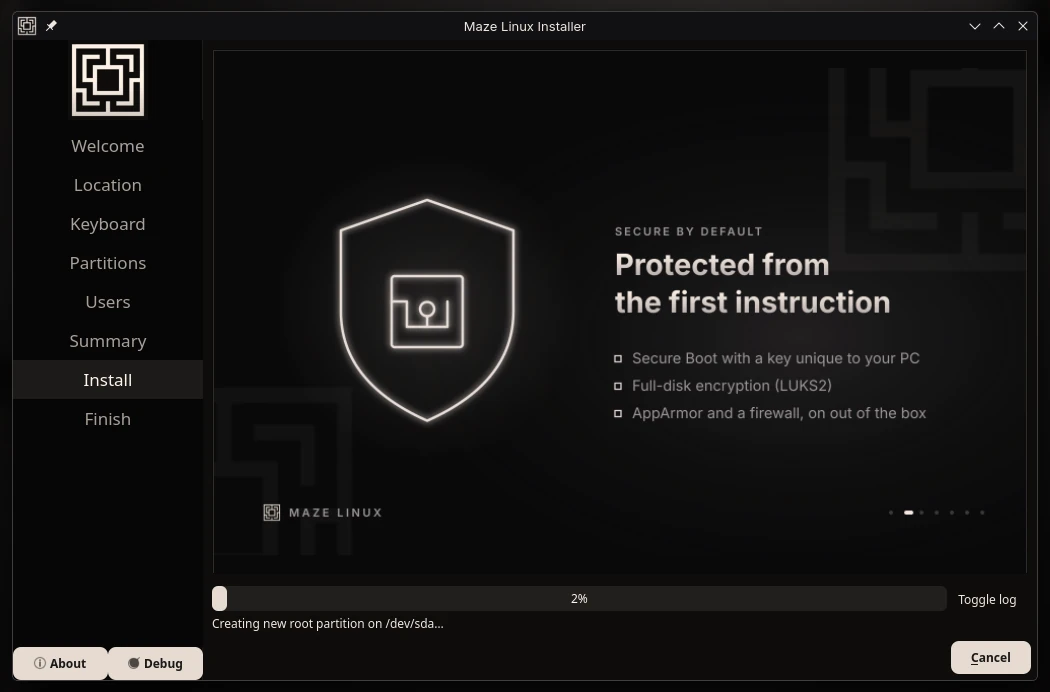
- Install — Copying and configuring takes a few minutes. The slideshow introduces Maze while it works; Toggle log shows the detailed progress.
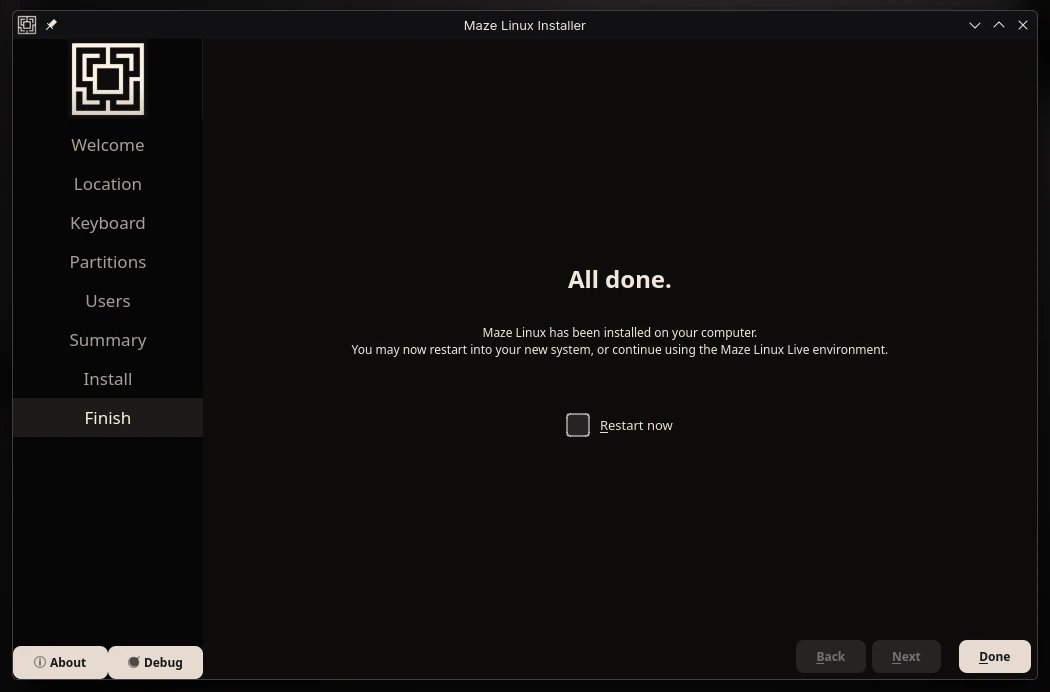
- Finish — Tick Restart now and press Done. Remove the USB when prompted — the blue Secure Boot screen that follows is expected (see step 6).
Recommended disk layout
Choose btrfs for the root partition. It is what makes the automatic before/after-update snapshots work — see Snapshots & Rollback.
Tick the encryption box: LUKS2 full-disk encryption is available in guided mode and is strongly recommended.
Partitioning manually? Give the EFI partition room. Erase disk creates a 3 GB EFI partition for you. If you partition by hand, remember Maze stores each kernel as a single signed image of about 90 MB and keeps two of them — 512 MB is tight, 1 GB or more is comfortable. See Kernel Management.
6. Reboot
On the Finish page, tick Restart now and click Done, then remove the USB when prompted.
On the first reboot a blue screen appears saying "Verification failed" or "MOK Management". This is not an error. It is the one-time approval of your machine's own signing key, and it takes four keystrokes — see First Boot / MOK. Do not disable Secure Boot to skip it.
On first login the Maze Welcome app opens automatically to orient you to the system.
Known Issues
- AMD GPU + Ollama — GPU acceleration requires ROCm 6.1+. Older AMD GPUs fall back to CPU inference automatically.
- Some NVIDIA laptops may show a blank screen on first boot. See the NVIDIA note under Troubleshooting below.
paruand ONLYOFFICE need network — the core system installs offline, but these two are fetched during installation. Without a connection the install still succeeds; runmaze-aur-setupafter first boot to finish them.
See Limitations for the full list of what Maze does not do.
Troubleshooting
Black screen on boot — Maze boots a signed Unified Kernel Image through shim; there is no boot menu to edit at runtime. If the screen stays black, boot the recovery entry from your firmware's boot menu (Maze Linux (recovery kernel)) and see Won't Boot?.
NVIDIA laptops — kernel parameters live inside the UKI, not in a bootloader config, so they cannot be edited from a boot menu. Boot the recovery entry, then add the parameter persistently and rebuild:
# add e.g. nomodeset to the kernel command line
sudo nano /etc/kernel/cmdline
sudo maze-initramfs-rebuild
Wi-Fi not detected — Broadcom cards need the broadcom-wl driver which is included on the ISO:
sudo modprobe wl
Installer crashes — Maze uses Calamares. Check its logs:
cat /var/log/Calamares.log
cat ~/.cache/calamares/session.log
journalctl -xe
Secure Boot — Secure Boot is supported and enabled by default. You do not need to disable it. On first boot you will be asked to enroll Maze's key (MOK) — see First Boot / MOK.